Create an Approval Checklist
- Navigate to Organisation Admin > Authorities.
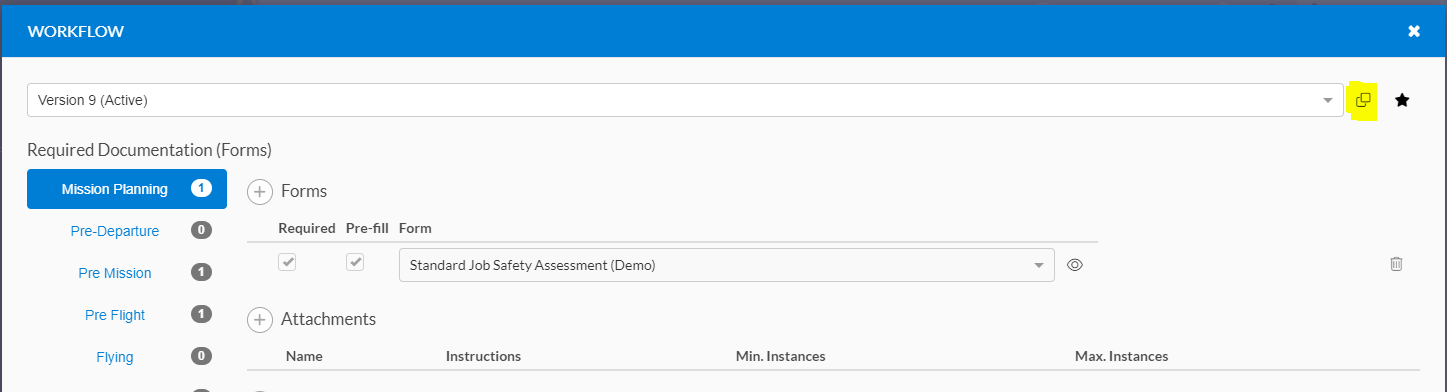
- Under your ReOC authority, open Authority Workflow

- If the current workflow version has been used (in a planned mission) you will need to create a new version via the clone button:
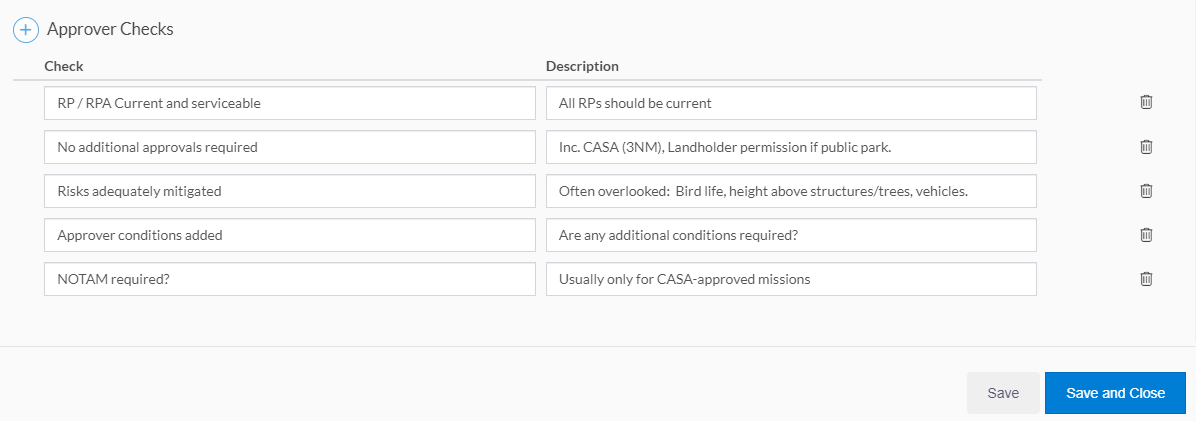
- Click the + button next to Approver Checks.

- Add a name (and an optional description) for each required check, and click save.
- If you created a new version of the workflow in step 3, make the new version current by clicking the star button in the top right.

Your approval checks are now saved against the authority workflow. All future mission approvals will contain these check items, and they will have to be ticked in order for the approval to complete.
Completing Approver Checks
On the approval screen for missions planned on this authority, you will now see the approver checks listed in the bottom left.
Note that the Approve button is unavailable as the checks haven't yet been completed: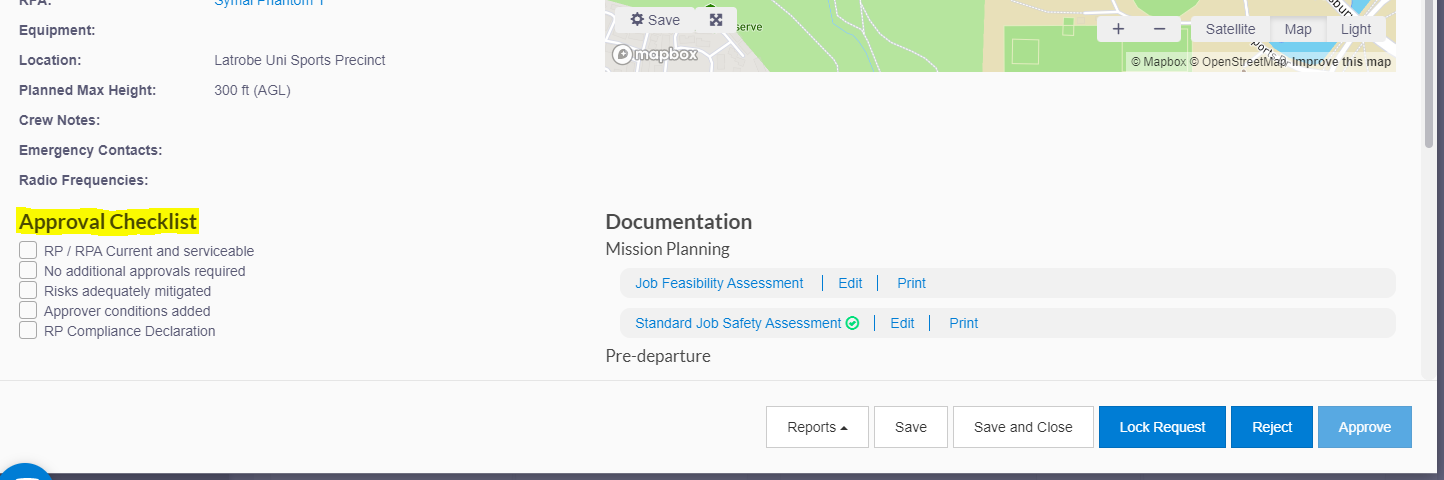
To complete the checklist, simply tick off each item until completed. At this stage, the Approve button is unlocked and the mission can be approved.