This process has been published to assist users of the P30 XAG system in reformatting and importing their flight data into the FlyFreely platform. As XAG has no export function for flight data, this process is manual, and involves precise manupulation of the data in a spreadsheet application (we've used Excel in this article).
FlyFreely is unable to provide technical support or instruction in the use of Excel or other applications.
Instructions
The following instructions are divided into 4 sections:
- Extract Data from XAG Platform
- Manipulate Data In Excel
- Download the Bulk Import template from FlyFreely
- Upload Data to FlyFreely
The instructions assume that a pre-planned mission exists in FlyFreely, into which the resulting flight data can be uploaded.
Extract Data from XAG Platform:
- Open mission in XAG platform and select the History tab
- Select the relevant date from the Operational History section
(each day's flying should correspond with a single FlyFreely mission) - Select View Satellite Image
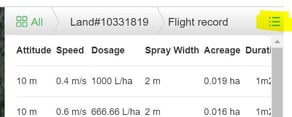
- Select the relevant field in the sidebar and click Operational Records
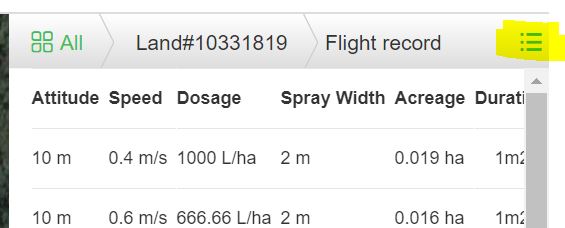
- Change the sidebar view format using this button:
- copy all text carefully (easiest if you drag from the bottom upwards) - make sure not to exclude any text as it may cause the following steps to fail.
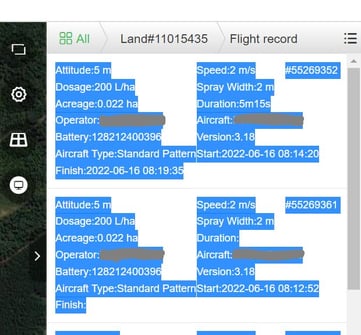
- Copy the text and paste it into notepad (this clears any formatting), then select all in notepad, copy and paste into excel

Repeat steps 4 - 7 for each field to be included in your mission record.
Manipulate Data In Excel
Your data should now be in Excel, with the data for each individual flight appearing in a single cell. The next steps will seperate this data out into useable fields.
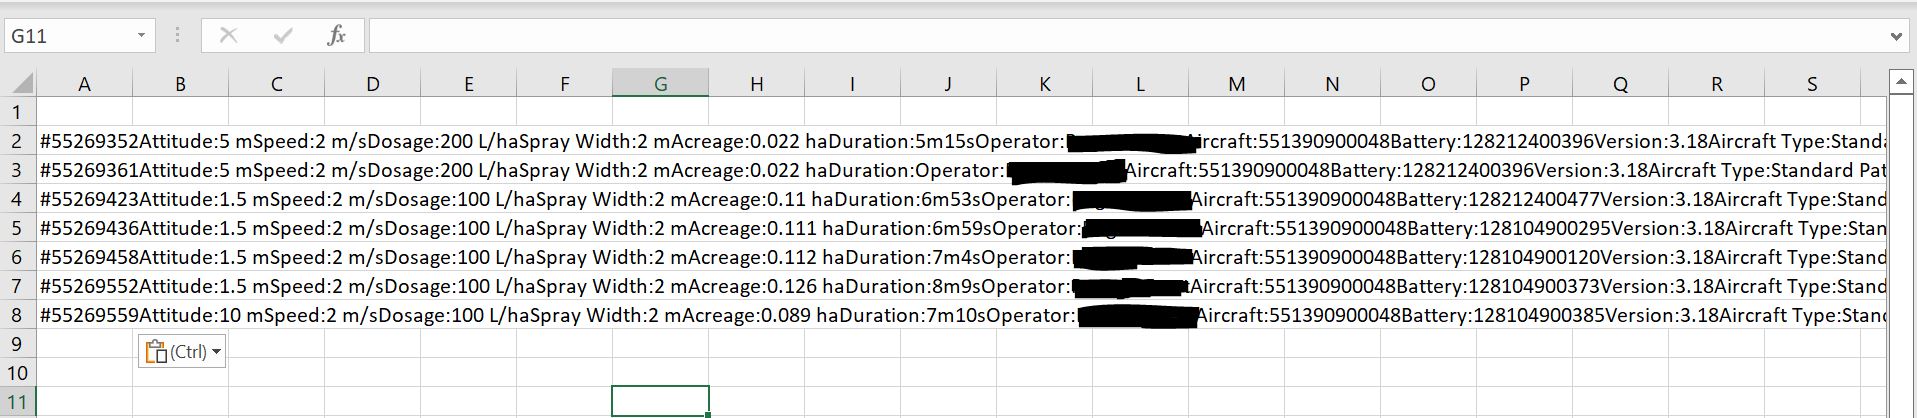
- Remove any empty rows at the top of the file (your data should start in row 1)
- Select column A and select the Text to columns function under the Data tab.
- Choose the 'Delimited' data type > Next > tick 'space' and 'other' as delimiters and in other, enter the ":" (colon) character > Finish
This will split the column into individual fields (don't worry that they seem a bit chaotic at this stage). - Insert new column to the right of column X.
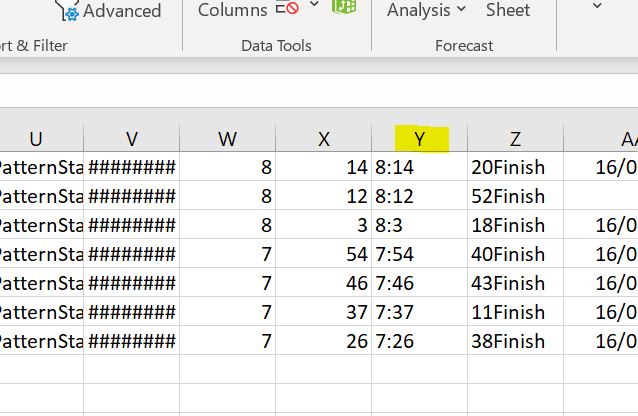
- Insert the following formula into Y1 and hit enter:
=W1&":"&X1 - Drag to replicate the forumula down the whole column.
Your flight start times should now be shown correctly in HH:MM format.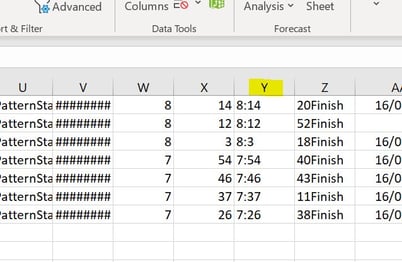
- Select column M
- Text to columns > delimited > tick other "s" > set field to text
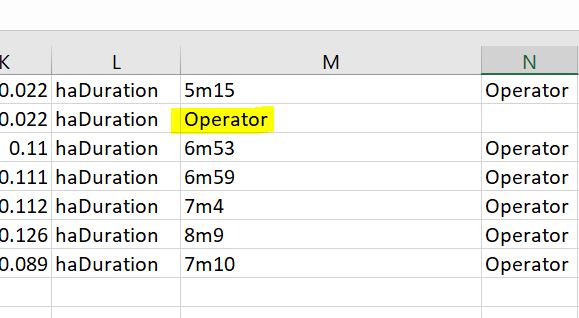
Flight durations should now be shown in 00m:00 format.
You might have one or more fields like that shown above, which will cause that line to fail during import. If the flight duration isn't shown anywhere in the XAG data, this line will have to be discared (we'll handle this later on in the process). - Insert new column to the right of column P and leave blank
- Select column P
- Select Text to columns > fixed width > place the break after the numeric characters > data type: text > Finish
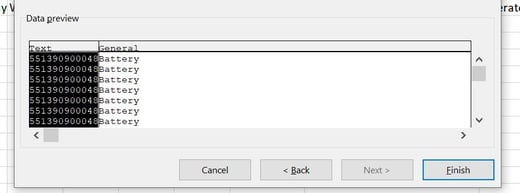
Your aircraft serial numbers should now be shown correctly in column P. - Insert new column to the right of column R and leave blank
- Select column R
- Repeat the process in step 11 on this column.
Your battery serial numbers should now be shown correctly in column R.

All required fields should now be ready to copy across to the upload template.
Download the Bulk Import template from FlyFreely
- Open your completed mission in FlyFreely
- Select Edit Mission Record
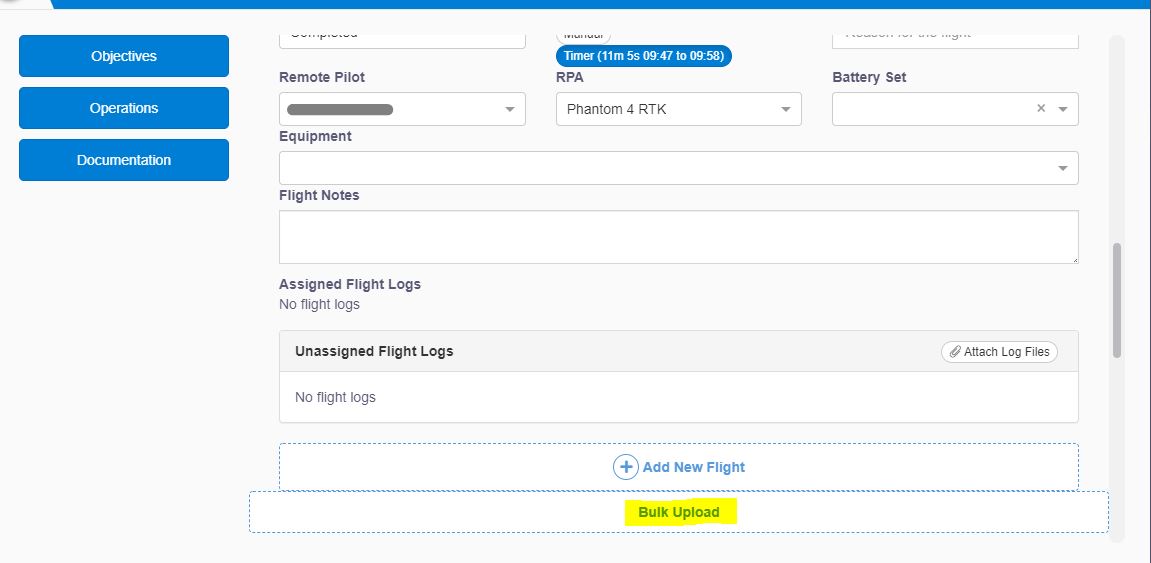
- Click Bulk Upload in the flights section as shown below:

- Download the template and open it in excel (you should now have 2 files open)
Populate The Bulk Import Template
- Resize columns as required for clarity
- Remove the example entres in row 2, except for 'Completed' in column A
- From your XAG data, copy/paste columns AA into the start time field in the template.
- Copy/paste column M into the duration field in the template.
- Copy/paste column P into the RPA field in the template
- Copy/paste column R into the battery field in the template
- Enter the 'Remote Pilot' name into row 2 of the template (this must exactly match their name in FlyFreely). Drag it down to copy into all rows.
- Enter a 'Reason' (eg 'aerial spraying') into row 2 of the template. Drag it down to copy into all rows.
- Drag 'Completed' in the status column down to copy to all rows
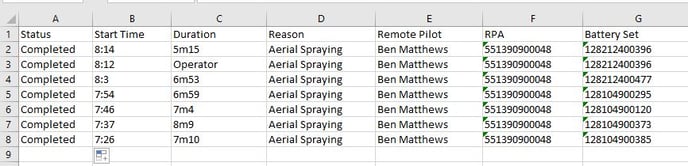
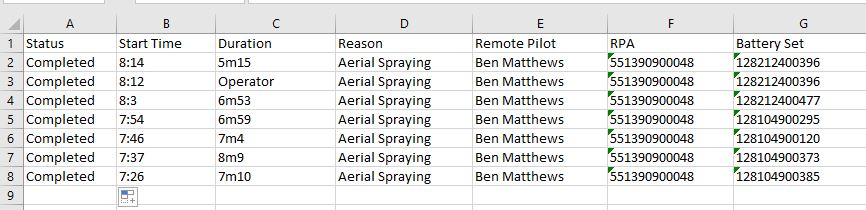
- Ensure all fields are populated in template, it should look something like this:
- Save the template file.
Upload Data to FlyFreely
- Switch back to FlyFreely and click Select File
- Browse to the saved template file and select it
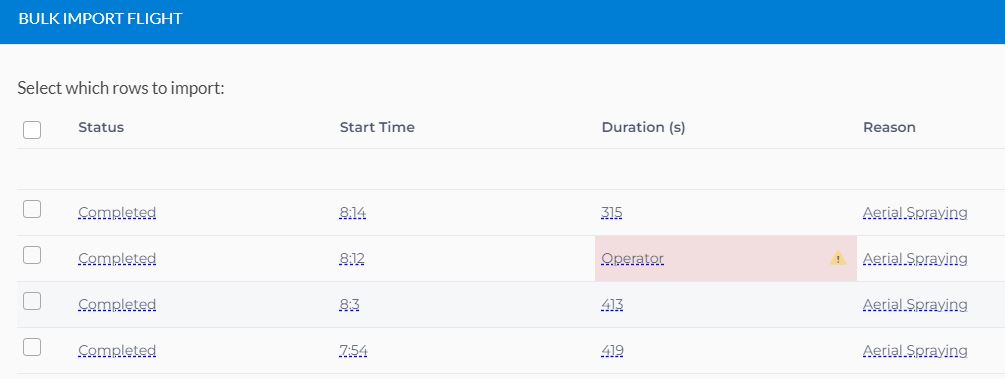
- This will open the data in FlyFreely's Bulk uploader. Any invalid fields will be highlighted in red and you can see the reason by clicking on the warning icon.

You can rectify any issues by clicking on the field (in this case the word 'operator') and typing in a correct value. - Use the tickbox at the top to select all fields for import, then deselect any individual rows to skip (if required) then click Import. Note that if there are any errors in an included row, the import button won't be available.
Your data should now be in the system, with flights created based on each row.