How to perform a JSA
A mission workflow may contain a Job Safety Assessment as part of the mission planning process. By default this is combined with the standard Risk Assessment form and will be accessed via the mission planning screen.
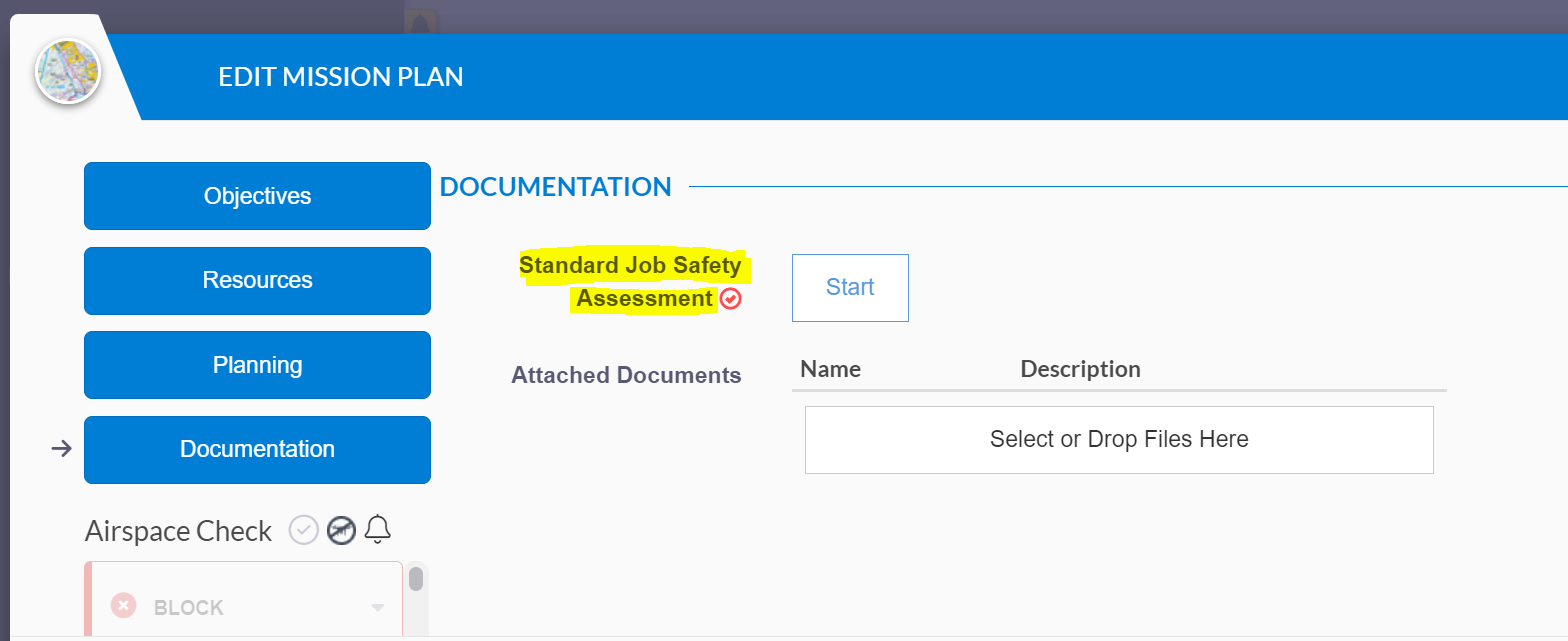
Click Start to open and fill out the form.
The standard JSA consists of a series of questions which can help guide your mission planning process. All fields are mandatory.
Answer the questions from top to bottom. Depending on your response, you may be prompted to complete a risk item (by default the risk control form is found underneath the JSA in the same form).

FlyFreely does not enforce these risk items - the message is merely a prompt and it is left to the planner or approver to decide whether it warrants a risk item.
Continue down the list until all questions have been answered. Where appropriate, add any risk items prompted by the app and then click complete to save the form.
How to validate a JSA in the Field App
While the initial JSA is completed during the mission planning stage, it is an important part of managing risk to review and validate the JSA 'in field'. Where it has been configured to do so, FlyFreely will display the JSA form in the field app automatically during the 'pre mission' stage.
By default, the JSA will be set as a mandatory form and the pilot will not be able to progress with their flight/s until the JSA has been validated in-field.
If required, changes can be made to the JSA questions at this time. In this case, FlyFreely will automatically retain copies of both versions of the form responses (mission planning and pre-mission responses) as part of the mission record.
How to validate a JSA Hard Copy
As a workaround in the case of an app or equipment outage in the field, it is possible to generate paper versions of the FlyFreely mission plan, including the job safety assessment.
Download Hard Copies
If hard copies are required, either the mission planner or approver should follow these steps after the mission has been approved:
- Reopen the relevant mission from the dashboard
- Click 'Reports' at the bottom of the mission details screen
- Select 'Field validated documents'
FlyFreely will output the relevant documents in PDF format. The field validated documents contain spaced and checkboxes for manual additions. These can then be printed and used in the field as required.
Upload Hard Copies
Post-mission, your paper documents should be either scanned or photographed back into an electronic format. The files can then be attached to the mission:
- Open the completed mission from the dashboard
- Click 'Edit Mission Record' at the bottom of the mission details screen
- Drag and drop the files onto the relevant upload button under the 'documentation' section:
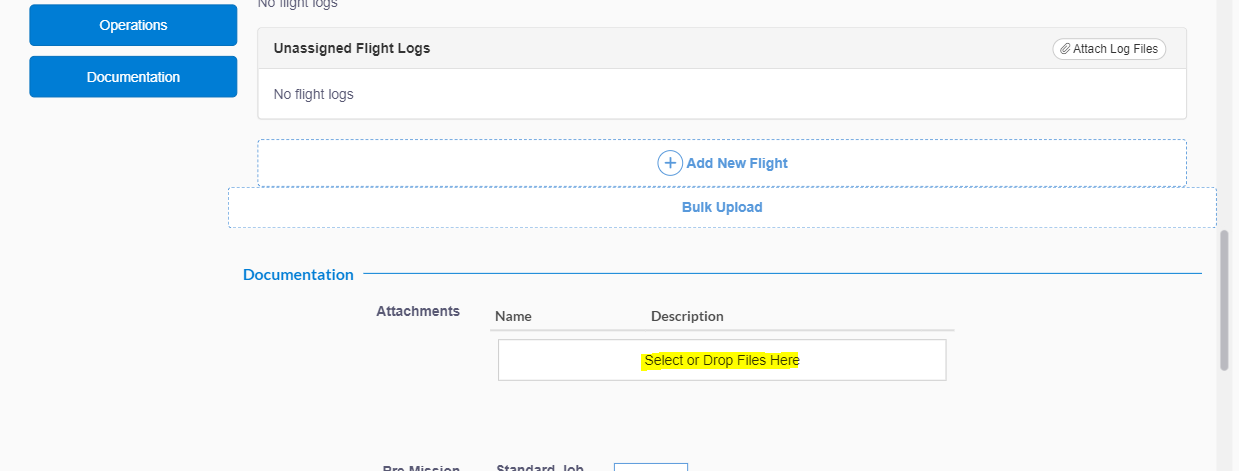
The field validated documents will be saved into the mission record.