Generic Risk Assessments
Chief Remote Pilots may keep a 'generic risk register' containing a library of risks that are encountered in the course of their organisation's operations.
The generic risk assessment is a living document and should be periodically updated to reflect the up to date catalogue of risk items and their possible mitigations.
In FlyFreely, this document should be maintained in a document library. To create a library:
- From the dashboard, scroll down to the 'document libraries' section or click the 'libraries' entry in the sidebar
- Click + on the libraries panel to create a new library
- Name the new library - (eg. Company Risk Assessment). This will create a blank library.
- Upload your generic risk assessment into the library by dragging it onto the upload button
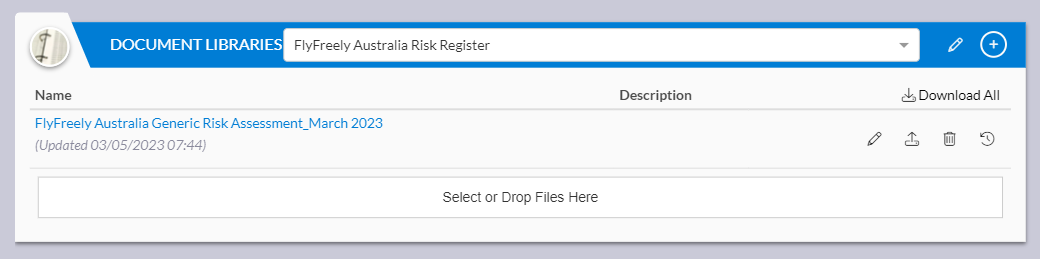
- Once review and updated, new versions of this document can be uploaded via the 'up arrow' button on the right hand side of the panel.
How to Complete a Risk Assessment
A mission workflow may contain a risk assessment as part of the mission planning process. By default this is combined with the standard Job Safety Assessment form and will be accessed via the mission planning screen.
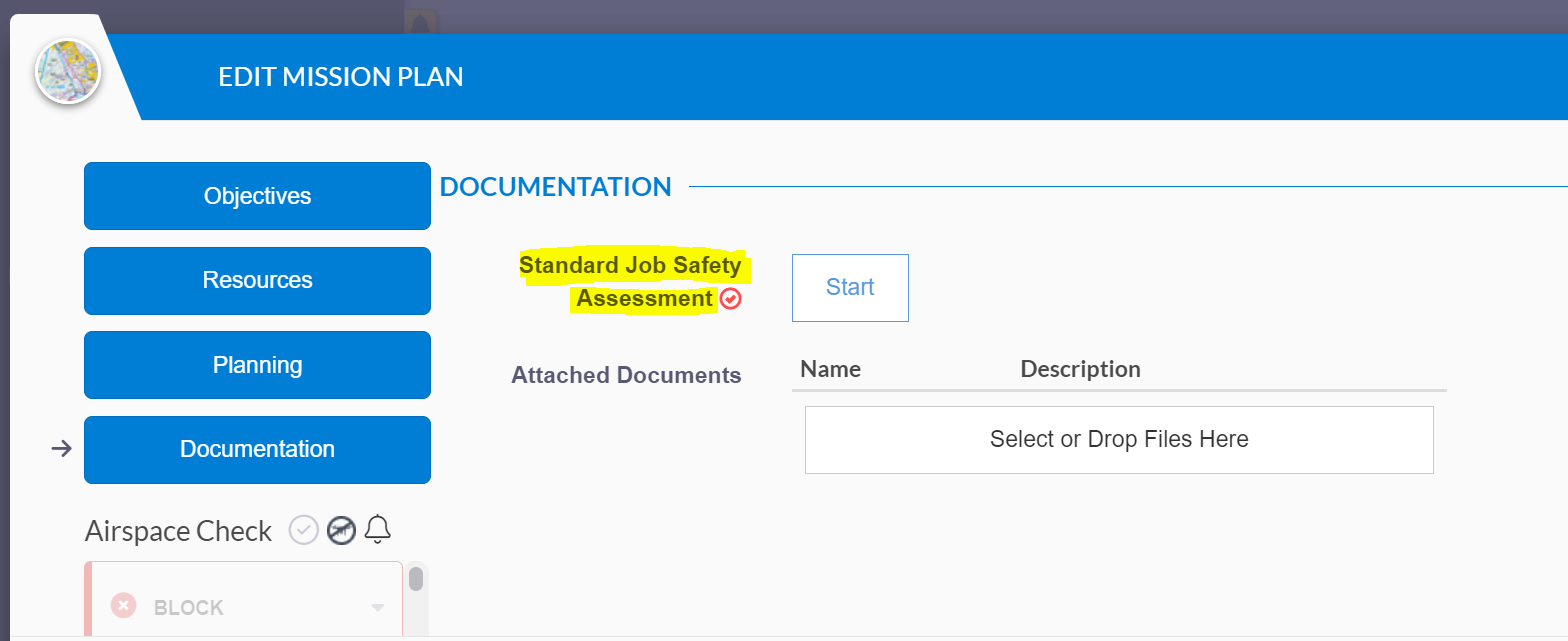
Click Start to open and complete the form.
Below the standard Job Safety Assessment questions you will find the Risk Control Form. Below this are the standard CASA-issued likelihood, consequence and risk rating tables for reference.

Click the + button to add a risk item. All fields are mandatory and all remote pilots and mission planners should be familiar with this format.

The Risk Rating is calculated by adding the likelihood and consequence scores. If the rating is <= 5, no further detail is required. If the score is >5, an additional set of fields will appear, prompting the planner to describe additional risk mitigation/s in order to lower the score.
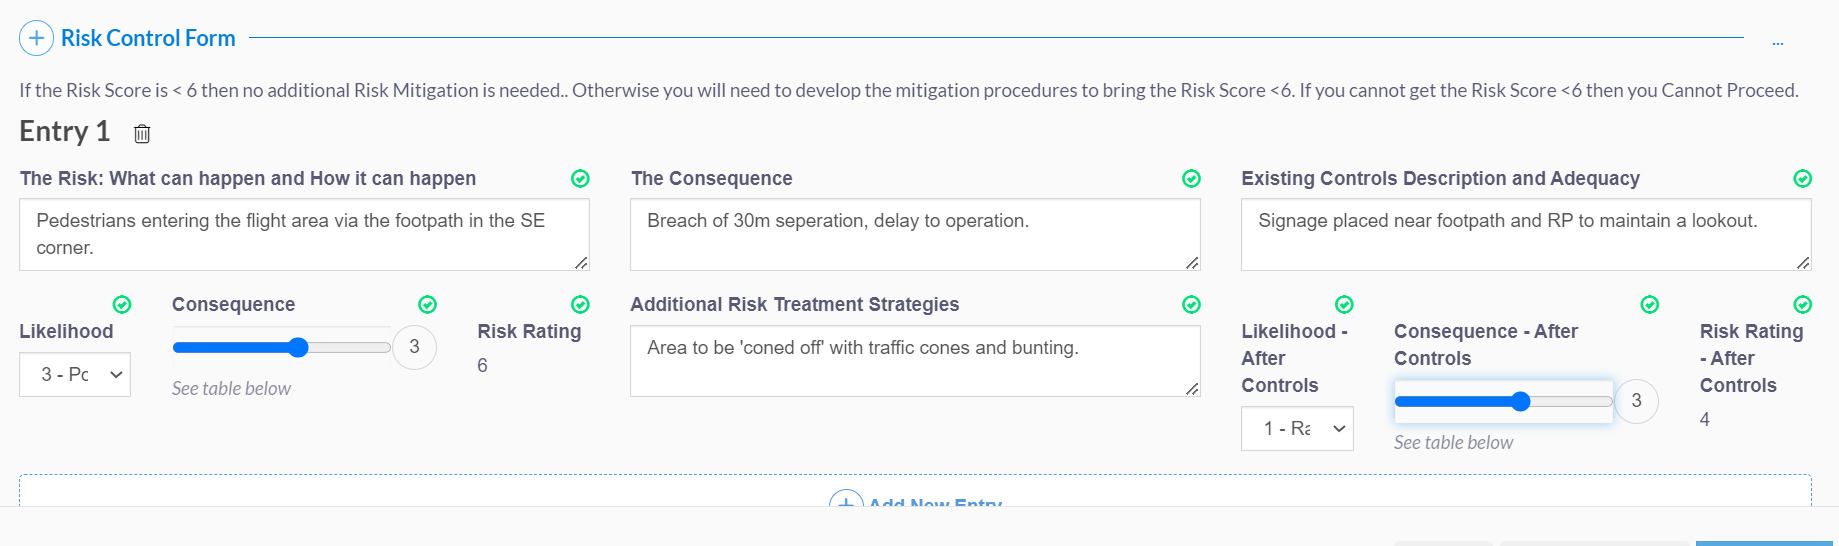
Additional risks can be added using the + button or by clicking 'Add new entry'. Once all items have been completed, click Complete to save the form.
Using Hard Copy Risk Assessments
As a workaround in the case of an app or equipment outage in the field, it is possible to generate paper versions of the FlyFreely mission plan, including the risk assessment.
Download Hard Copies
If hard copies are required, either the mission planner or approver should follow these steps after the mission has been approved:
- Reopen the relevant mission from the dashboard
- Click 'Reports' at the bottom of the mission details screen
- Select 'Field validated documents'
FlyFreely will output the relevant documents in PDF format. The field validated documents contain spaced and checkboxes for manual additions. These can then be printed and used in the field as required.
Upload Hard Copies
Post-mission, your paper documents should be either scanned or photographed back into an electronic format. The files can then be attached to the mission:
- Open the completed mission from the dashboard
- Click 'Edit Mission Record' at the bottom of the mission details screen
- Drag and drop the files onto the relevant upload button under the 'documentation' section:
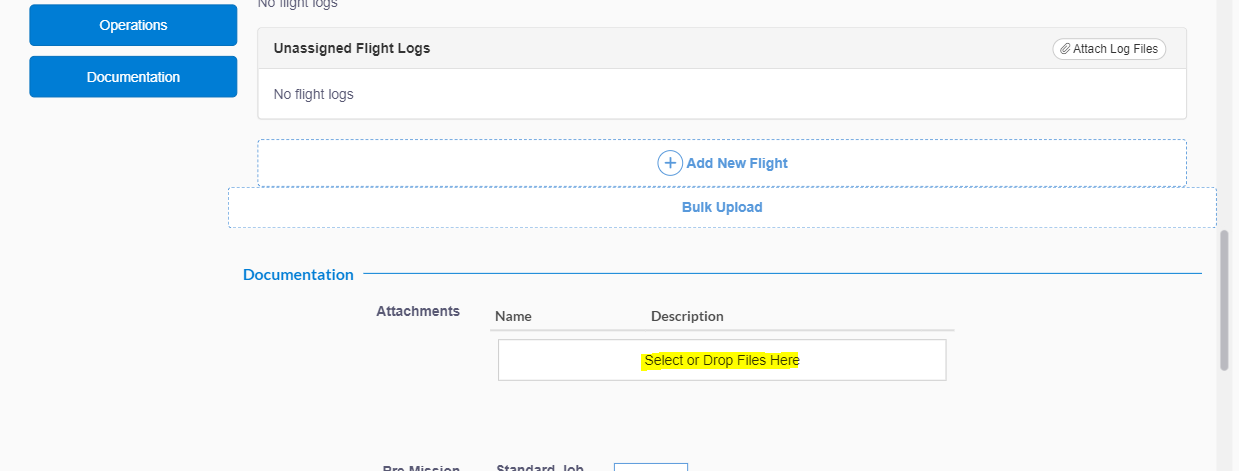
The field validated documents will be saved into the mission record.